
How to Grow Peppers
General Information
| Scientific Name: | Capsicum |
| Plant Family: | Nightshade |
| Vegetable Type: | Fruit (actually, a berry!) |
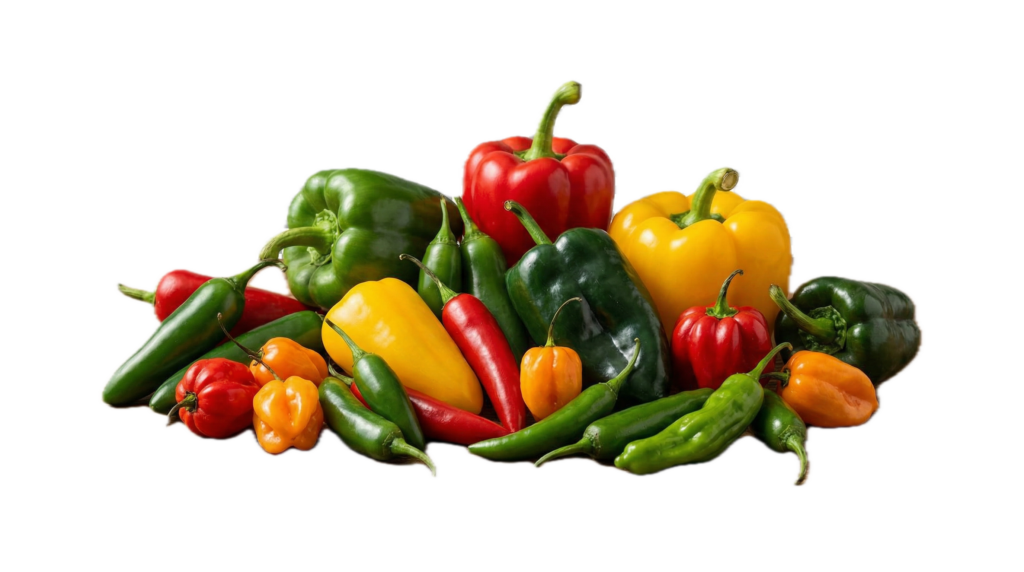
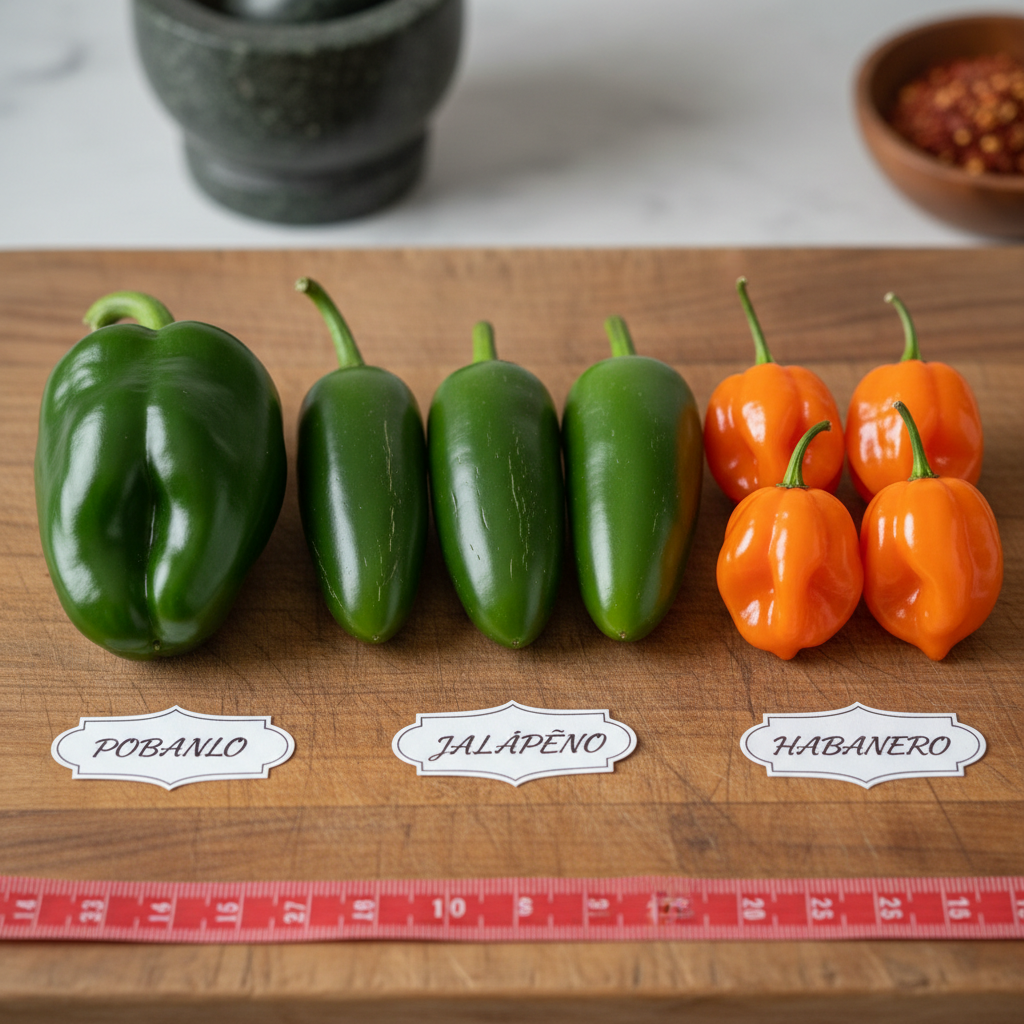
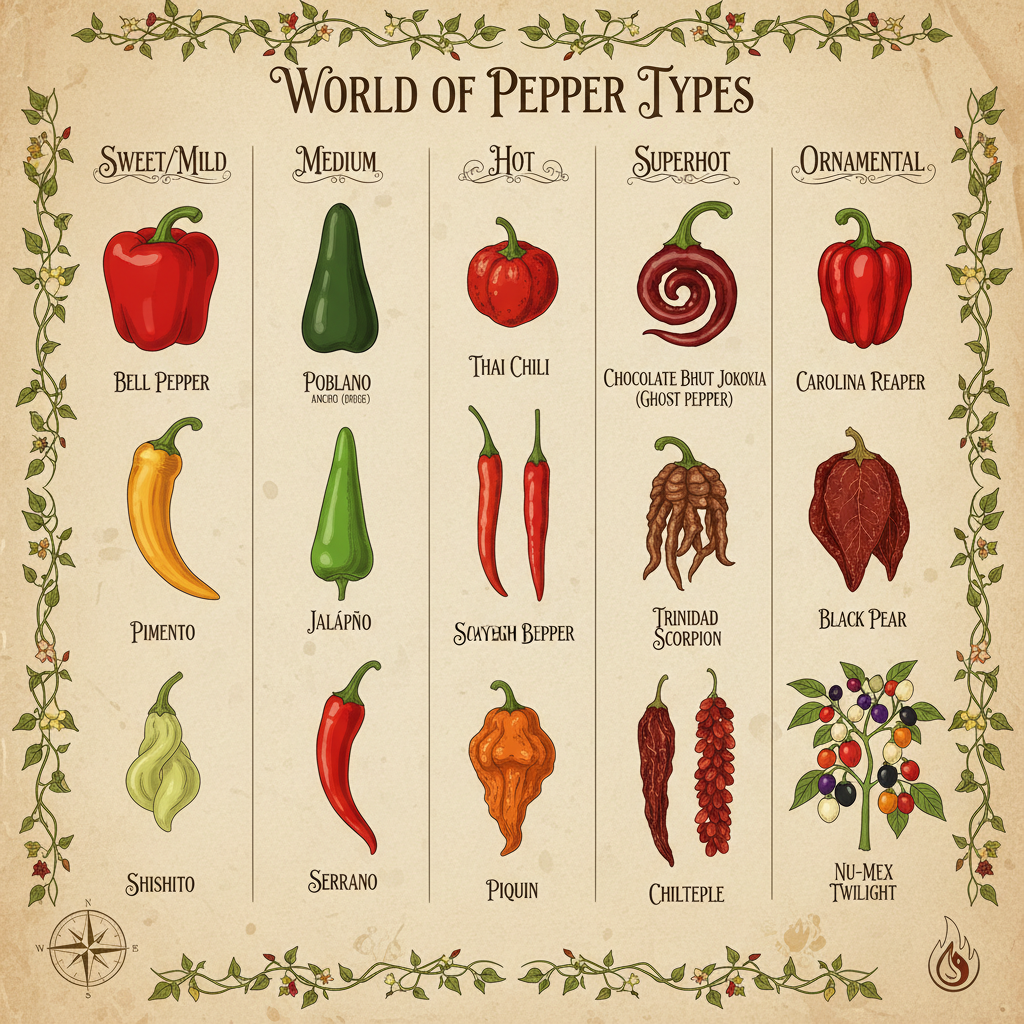
| Our Favorites: | Bell Peppers: California Wonders, Chocolate Bells, Golden Bells, Purple Beauties. Mild: Peperoncini, Mammoth Jalapeños, Hot: Habanero, Thai, Carolina Reaper Sweet: banana, Jimmy Nardello, lunchbox |
Know Before You Grow
| Growing Zones: | 3 – 11 They are warm season crops, and grow best in zones 9 to 11, but if you start seeds early enough, you may also have success growing peppers in zones 3 – 8 as well. |
| Crops per Year: | 1 |
| Plants Per Person: | 2 – 4 plants per person for fresh eating. 5 – 10 plants per person for preserving. |
| Frost Hardy: | No. They need shelter if the day or night temp dips below 40°F. |
| Heat Tolerant: | The hotter the pepper, the more heat tolerant it is. Hot peppers can withstand more heat than sweet peppers, but nights over 80°F will have them struggling. |
| Stratification: | No |
| Scarification: | No |
Rotation Schedule
| Schedule: | 3 or 4 year rotation schedule |
| Follow ->: | Root Crops |
| <-Following: | Brassicas |
Starting from Seed
| When: | Zones 3 to 7 – Mid March Zones 8 – 11 – December or January |
| Soil: | Seed Starting Mix |
| Depth: | 1/4″ |
| Water: | Keep moist, but not soggy |
| Germination: | 7 – 10 Days |
| Up Pot: | When the plant has two sets of true leaves. Up-pot to a 3.5″ cup or pot, and use a quality potting soil. |
| Harden Off: | 2 Weeks before Transplanting: 1 – 2 hours in a protected shady spot. Increase sunlight and time outdoors each day. Do not put plants outdoors on windy days or if the temperatures are below 50°F. |
| Light: | 14 to 16 Hours per day |
| Humidity: | 75% to 100% Remove humidity dome when seeds sprout. |
| Soil Temperature: | 70°F to 95°F |
| Heat Mat: | Not required indoors, but highly recommended anyway. |
Garden Bed Prep
| Soil: | Loose, well-draining, rich with nutrients |
| pH: | 6.2 to 6.8 |
| Soil Depth: | At least 12 inches deep. For large plants, 18 – 24 inches deep. |
| Trellis: | No trellis, but they should be staked for extra support |
| Fertilizer: | Balanced 10-10-10 added to soil before transplanting. Some people prefer to use a fertilizer with higher phosphorus for the strong root development and flowering, which allows the plant to give less “attention” and energy to leaf production. You want peppers (which requires flowers first), not leaves. |
| Compost: | NEW In-Ground or Rows: Work 3 to 5 inches of compost into the top 6 inches of soil. EXISTING In-Ground or Rows: Mix in 1 inch of compost into the top few inches. CONTAINERS: Do NOT directly compost the container. Instead, mix 1 part compost to 4 parts potting mix. Choose a mix that contains Perlite. |
Transplanting
| When: | After the last frost date for your zone, but not before nighttime temperatures are consistently above 55°F, and the soil temperature is at least 60°F. |
| How: | Harden Off for 7 to 10 days. Ideally, you should choose a cloudy day to transplant, or transplant your peppers in the early evening. The hole should be slightly larger than the rootball of the pepper plant. |
| Depth: | The same depth that the plant was in the pot you are transplanting from, or slightly deeper if the roots are starting to become bound. |
| Spacing: | 18 to 24 inches apart |
| Strong Foundation: | Settle the soil by watering deeply at the base of the plant. Give your pepper plants a boost by pinching off any flowers or tiny peppers that have already started. This will allow your plant to focus energy on establishing stronger roots at first. |
| Mulch: | DO NOT MULCH IMMEDIATELY! Wait 2 weeks after transplanting. This gives the soil time to warm up even more…when you mulch peppers, you want to trap the warmth in, not the cold. Additionally, you don’t want to cause the plant more stress by putting mulch right up against its stem yet. It will appreciate that later, but not right now. Mulch when the soil is about 75°F, then use black or dark colored mulch. |
| Water: | Immediately after transplanting: Each plant will need about 1/2 gallon of water, at the base of the plant. Avoid the leaves. Days 7 – 10: Keep the soil moist, but not soggy. Give the plant enough water to reach its roots. It’s okay if the soil feels dry to just about 1 inch, but if it’s dry any deeper than that, water. |
Direct Sowing
NOT RECOMMENDED AT ALL
Growing Care
| Soil pH: | 6.0 TO 6.8 |
| Fertilizer/Feed: | 2 WEEKS AFTER TRANSPLANTING: Use 10-10-10 Fertilizer at half the recommended strength. WHEN FLOWER BUDS APPEAR: This usually occurs 4 to 6 weeks after transplanting, fertilize with a 5-10-10 or 8-4-32 fertilizer. WE USE: None of the above. We use “Big A** Peppers.” Aside from preparing the beds, this is the only thing we use on our peppers…with great success. This can be used in containers, rows, or beds. |
| Days to Maturity: | Sweet Peppers: 60 to 90 days from transplant Warm Peppers: 70 to 90 days from transplant Hot Peppers: 90 to 150 days from transplant |
| Water: | Each plant needs one inch of water twice weekly, including rainfall. This amounts to just under 3/4 of a gallon per square foot of soil. |
| Pruning: | – Before transplanting, when the plant is 6 to 8 inches tall and has at least 4 sets of true leaves, snip off the top of the main stem. Note that this will delay your harvest by about 2 weeks, but it is a good practice for a healthier plant, which produces healthier fruit. – Good airflow is essential for peppers. A few weeks or so after transplanting, clear the bottom 6 inches of each plant. Not only does this improve airflow, but it prevents diseases that come from close contact to the soil. – When the plant becomes bushy, thin out the center of the plant. – You should also immediately prune off any diseased, dead or damaged leaves and/or stems. – With the exception of the diseased, dead or damaged leaves and stems, stop pruning when the plant starts setting fruit. |
| Mulching: | – Apply one inch of dark or black mulch after the plants are well established (two to three weeks after transplanting). Every week or so, add an additional inch, up to 4 inches. – DO NOT put mulch right up against the stem of the plant, leave a 2 to 3 inch gap between the mulch and the stem, all the way around. – In containers, only use an inch or two of mulch to keep the soil from drying out too fast. |
| Pollination: | Pepper plants are “Perfect Flowers.” This means they are self-pollinating, and do not require help from insects or humans for pollination. However, this doesn’t mean that insect pollination won’t give your pepper plants a big boost. But, they can also cause your peppers to cross-pollinate, which could mean your heirloom peppers are hybrids next year, if you are saving and replanting seeds. |
Companions & Antagonists
| Companions: | Antagonists: |
| Basil | Fennel |
| Marjoram | Kohlrabi |
| Carrots | Corn |
| Onions | Apricot Trees |
Attracts & Repels
| Attracts: | Repels: |
| Bees | Rabbits |
| Lady Bugs | Beetles |
| Hover Flys | Cabbage Worm |
| Butterflies | Deer |
Pests & Disease
| Pests: | Disease: |
| Aphids | Bacterial Spot |
| Spider Mites | Powdery Mildew |
| Thrips | Blossom End Rot |
| Pepper Maggots | Mosaic Virus |
Seed Saving
| When: | When pepper is slightly past the “eating” stage. |
| Method: | Remove, rinse away pulp and residue, spread them out, pat dry, and let them dry out for one to two weeks. |
| Storage: | Seed envelope or airtight container. Label. |
Harvest Time
| When: | When desired size and color. Sweet peppers get sweeter the longer they are on the plant. Hot peppers get hotter on the plant. They should be firm and vibrant. |
| How: | Use pruning shears or garden shears. Snip about one inch above the pepper. Do not tug or twist the pepper off! |
| What: | Fruits |
| Curing: | None |
| Storing: | Store in the counter if using within a day or two. Move to refrigerator for about a week or so. |
| Preservation Methods: | Dehydration, Pickling, Water Bath if using a pickling brine, Freezing whole or chopped, Fermented, Submerge in Oil (Olive oil), Pressure Canning. |
Troubleshooting
| How do they look? | Yellowing Leaves – Nutrient Issues. Add more nitrogen, a balanced fertilizer, compost or well-rotted manure. Do NOT overdo any of this. It may take three weeks for improvement. Wilting – They either need more or less water. The soil should be moist at all times, but never soggy. Curling Leaves – Caused by pests or heat stress. Provide netting, use insecticidal soap or a strong spray of water to control pests. Provide shade during the hottest parts of the day. Dark Spots or Mushy Patches: Disease or rot. Remove any affected peppers, leaves or branches to stop the spread. Improve airflow by pruning or even moving whole plants for better spacing. A copper based fungicide can help. Always water at the base of the plant and avoid getting the leaves wet when possible to prevent these problems in the future. Healthy – Healthy peppers should be firm, bright and upright. |
| Is the fruit small? | This could be caused by a lack of nutrients, especially phosphorus or potassium. Inconsistent watering and not enough sunlight could also cause this. High heat can cause stress that could also cause smaller fruits. Good soil, consistent watering, and plenty of sunshine are key. |
| Is it flowering, then dropping flowers, or not flowering at all? | This is usually stress related…caused by high heat, vast temperature changes, inconsistent watering, not enough sunlight or low phosphorous can all cause these problems. |
| Do your fruits have Blossom End Rot? | Very common. Caused by a calcium imbalance. Avoid over fertiliziing, be consistent with watering, add mulch to help retain moisture. |
| Are your fruits misshapen? | This is usually a pollination problem. It could be that the flowers were not fully pollinated, which will cause the fruit to grow uneven. Temperature stress could also be the problem. Provide good growing conditions, such as steady watering, full sun and good soil. |

Disclaimer: Some of the links in this content may be ‘affiliate links.’ This means if you click on the link and purchase the item, we will receive an affiliate commission. We are also Amazon Associates, and we do earn from qualifying purchases. Regardless, please know that we only recommend products or services we use personally, or have throughly researched, and that we believe will add value to our readers.

